Start with an 8+1/2" x 11" piece of paper. There are several ways to turn this into a folded booklet, one of which is to use a computer program like Print Shop to import pictures or text (or both) onto the page, and then print it out. Another method is to fold or measure and mark the paper into eight (8) equal sections, and then collage or draw/paint designs or text onto the individual pages.
(NOTE: If you are going to duplicate these, I recommend NOT folding the paper. Instead, make light pencil lines for page-edge guides which can be erased before you take your finished Zine to a commercial printer. I never try to make my own copies at home because the edges of my artwork will get cut off by the 1/4" margin allowance.)
PAPER: For a one-time Zine construction, choose paper which has some substance but not cardstock, which is difficult to fold neatly. At the printers' shop I request an 11" x 17" smooth medium-weight (100#) paper when I take my original Zine to be duplicated, so that the design WON'T be cut off at the edge.
Here is the folding method:
:
 |
| First, fold paper in half the long-way Open back up |
 |
| Then fold in half the short-way Open back up |
 |
| Now fold toward the center from each end Open back up |
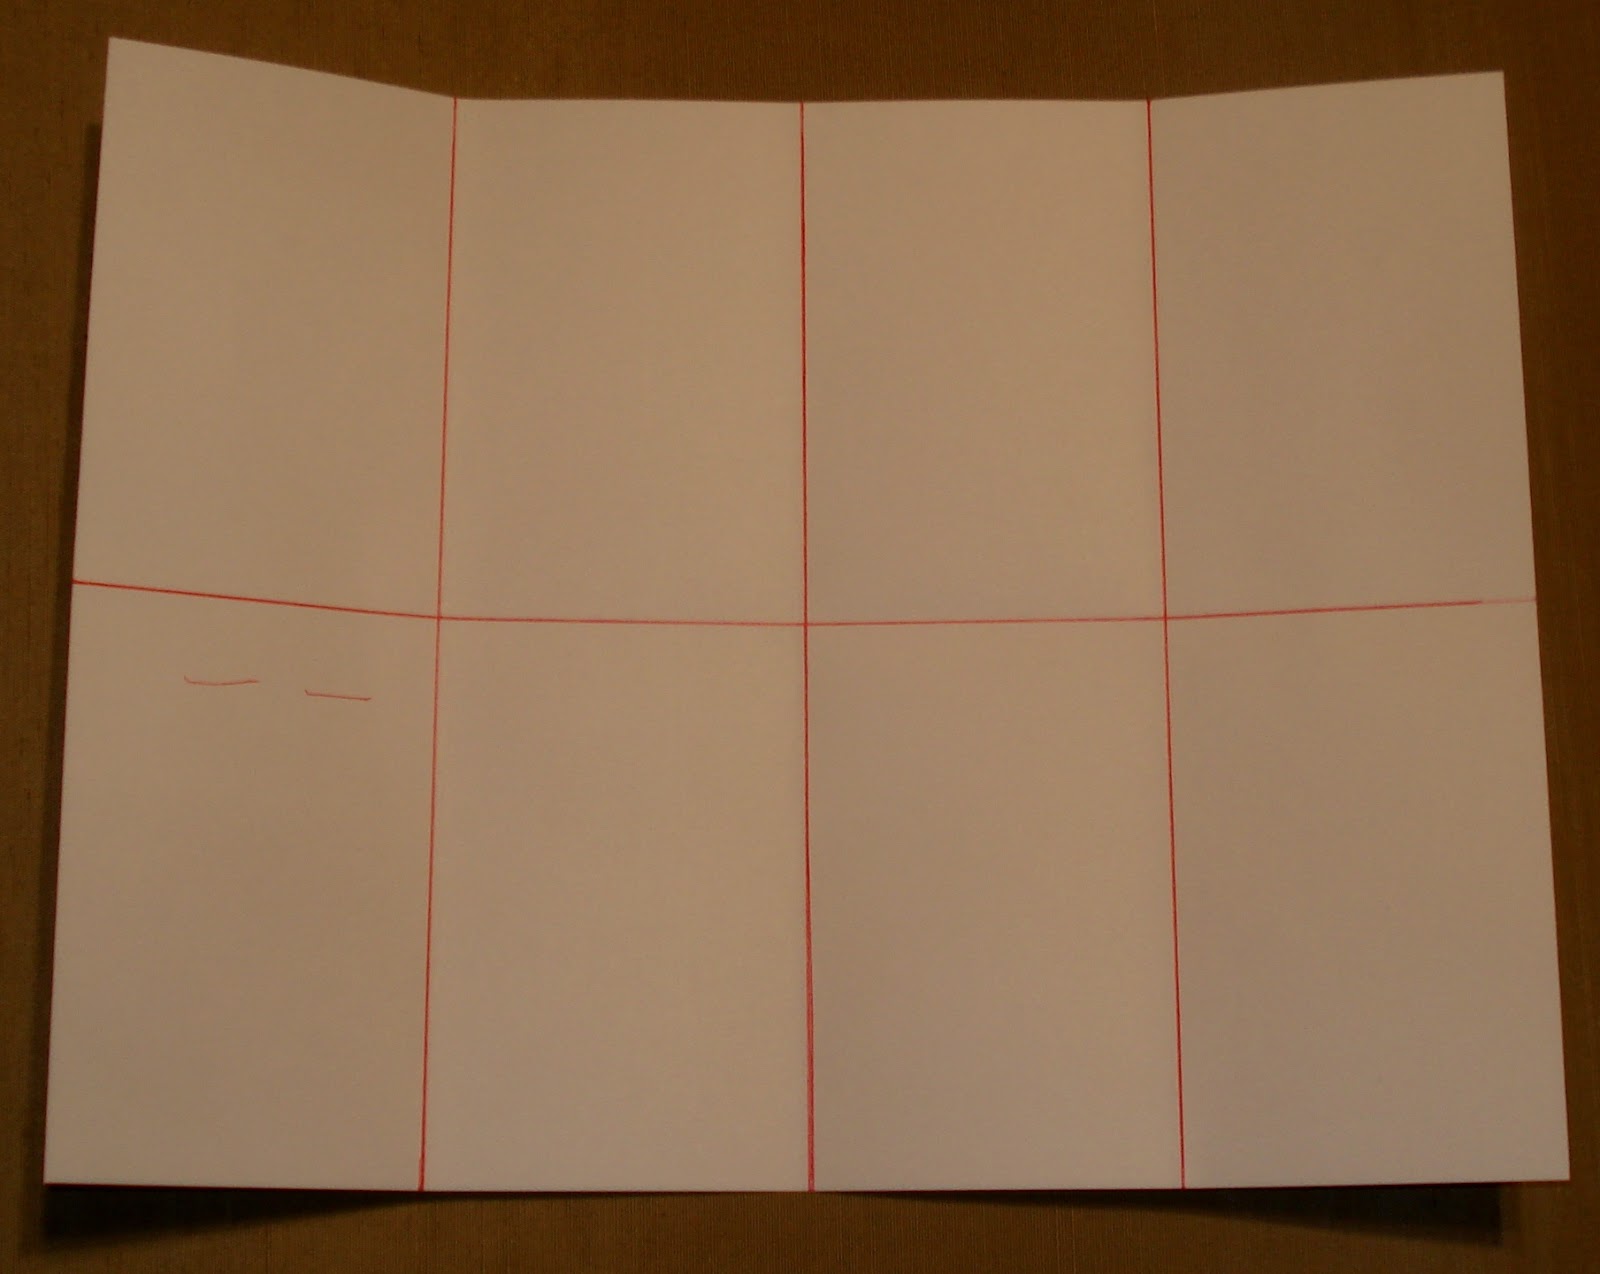 |
| Eight equal sections, or pages (lines drawn only so you can see them more clearly) |
 |
| On folded, cut along seam only where I've shown the dotted line |
 |
| Smoosh-"Barfle"- Pop-out effect |
 |
| This is what it looks like opened out |
No comments:
Post a Comment