
This is a continuation of a tutorial on constructing Zines.
After you have folded your Zine the long-way and pinched the outer edges in to make a "barfle," you begin folding the pages toward each other, pressing the creases with your hands to strengthen the folds.
 |
| Start decorating Page 2 and 3 |
If you then opened up your little booklet, you would see that Pages 1, 2, 3 and 4 all face you, and Pages 5, 6, the back page, and the title page, appear to be upside down.

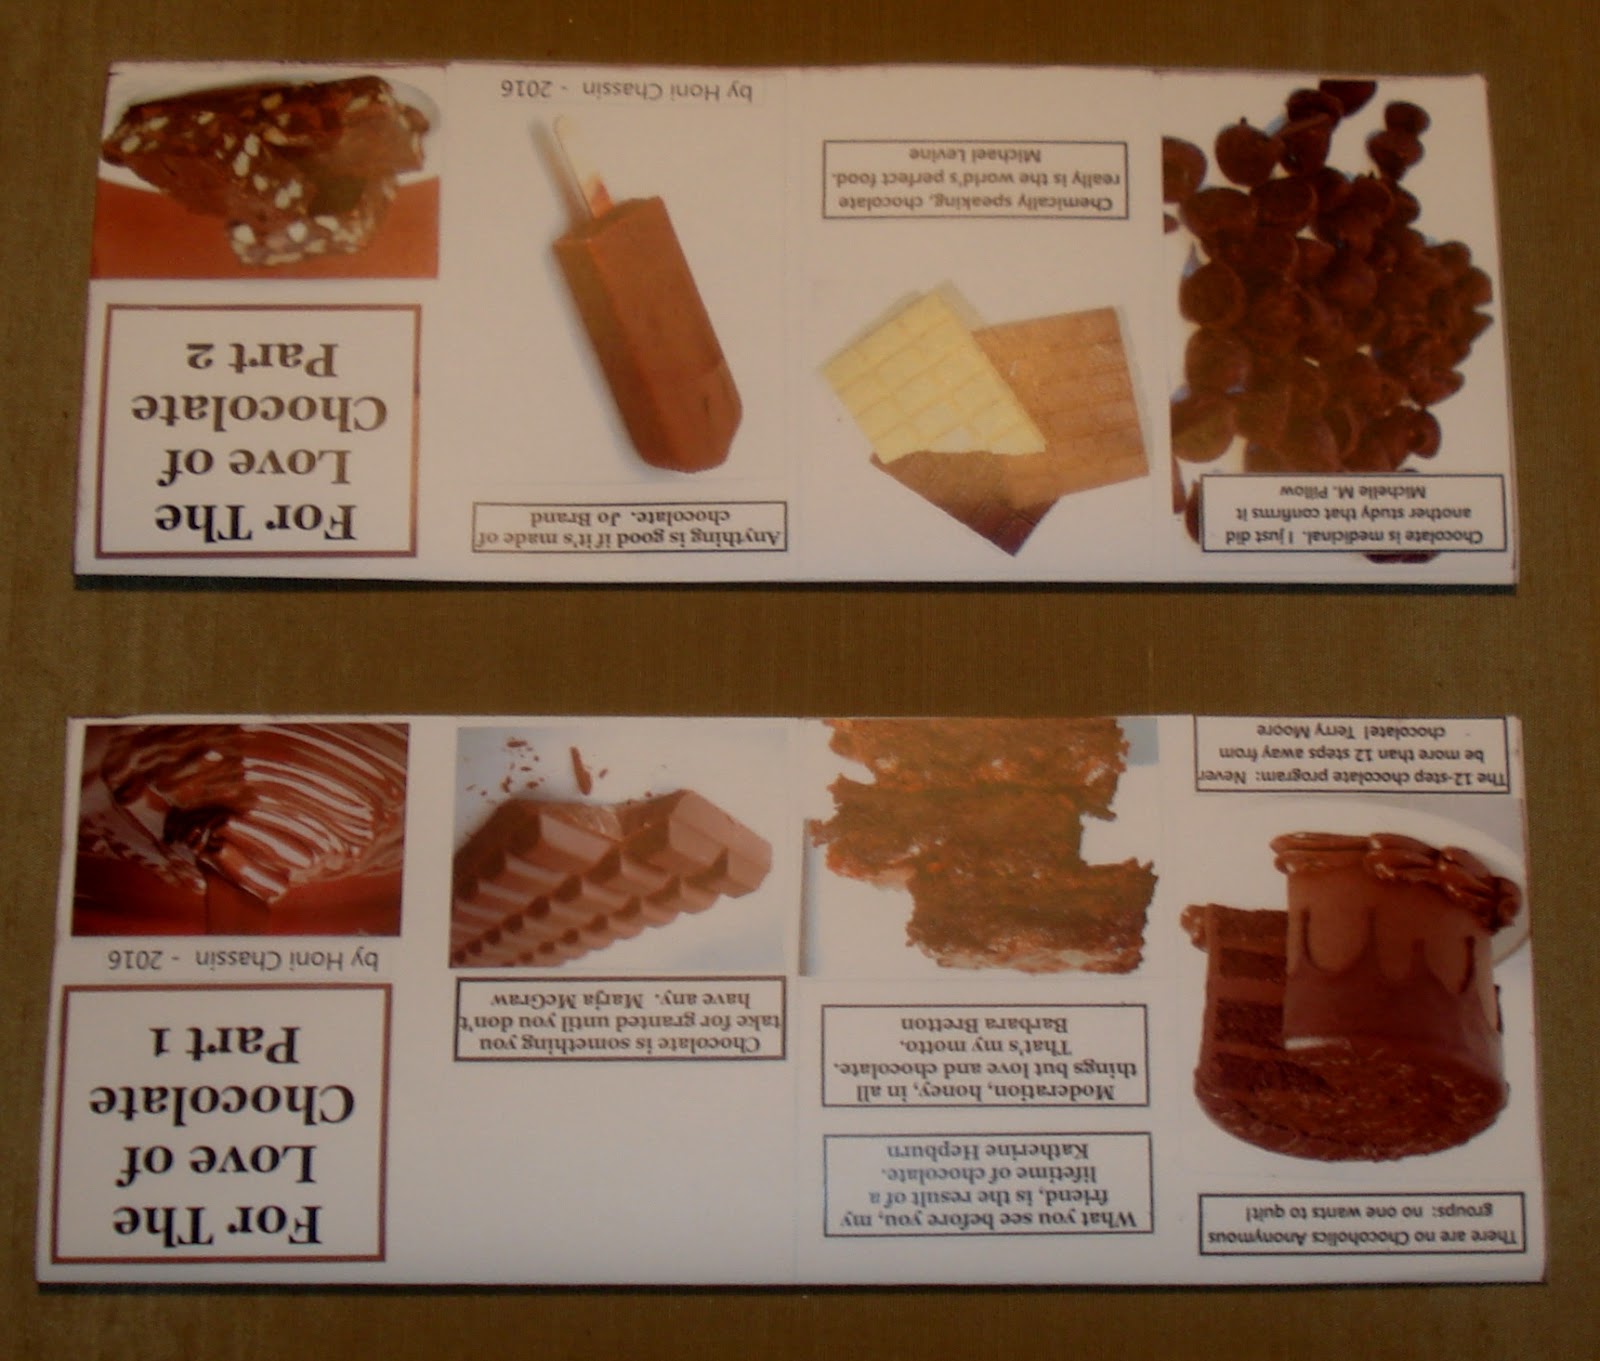
Here are two Chocolate-themed Zines I made a little while ago, shown here opened out.

First, fold the long ways, then open it out

Next, fold the short ways, then open it out

Third fold is one edge toward the center fold line, then open it out


Fourth fold: fold the other edge in toward the center fold line, then open out.

Remember to fold in half the short-way, (see How To Make A Zine Part One). Cut along just part of the fold-line but not to the outer edges. Then open out.
Fold in half the long-way, pinching both outer edges toward the center. Begin strongly pressing the folds to smooth out the pages. Make sure your TITLE PAGE is where it should be.
NOTE: If the bottom corners of your TITLE PAGE and your PAGE ONE don't seem to line up nicely, a bit of double-stick tape between them helps to hold them smoothly flat. If for some construction reason your pages are aligned differently, it's alright as long as your Title Page is the first page one views.
Be sure to include your name and contact information, either on the back page or partly hidden on the inside/backs of the pages.
 |
| The front (title page) of one of my Zines |
 |
| The back page of both Zines |
I THINK these are easier to make than to explain (or to study directions). Good luck!
1 comment:
Too much work for me but will be interested seeing the others results.
Post a Comment