Wednesday, December 14, 2016

How To Make A Zine - Part One

This tutorial together with Part 2 was put together for a Zine swap for the mail art group.  If you practice with cheap copy paper, you will probably "get it" rather quickly.

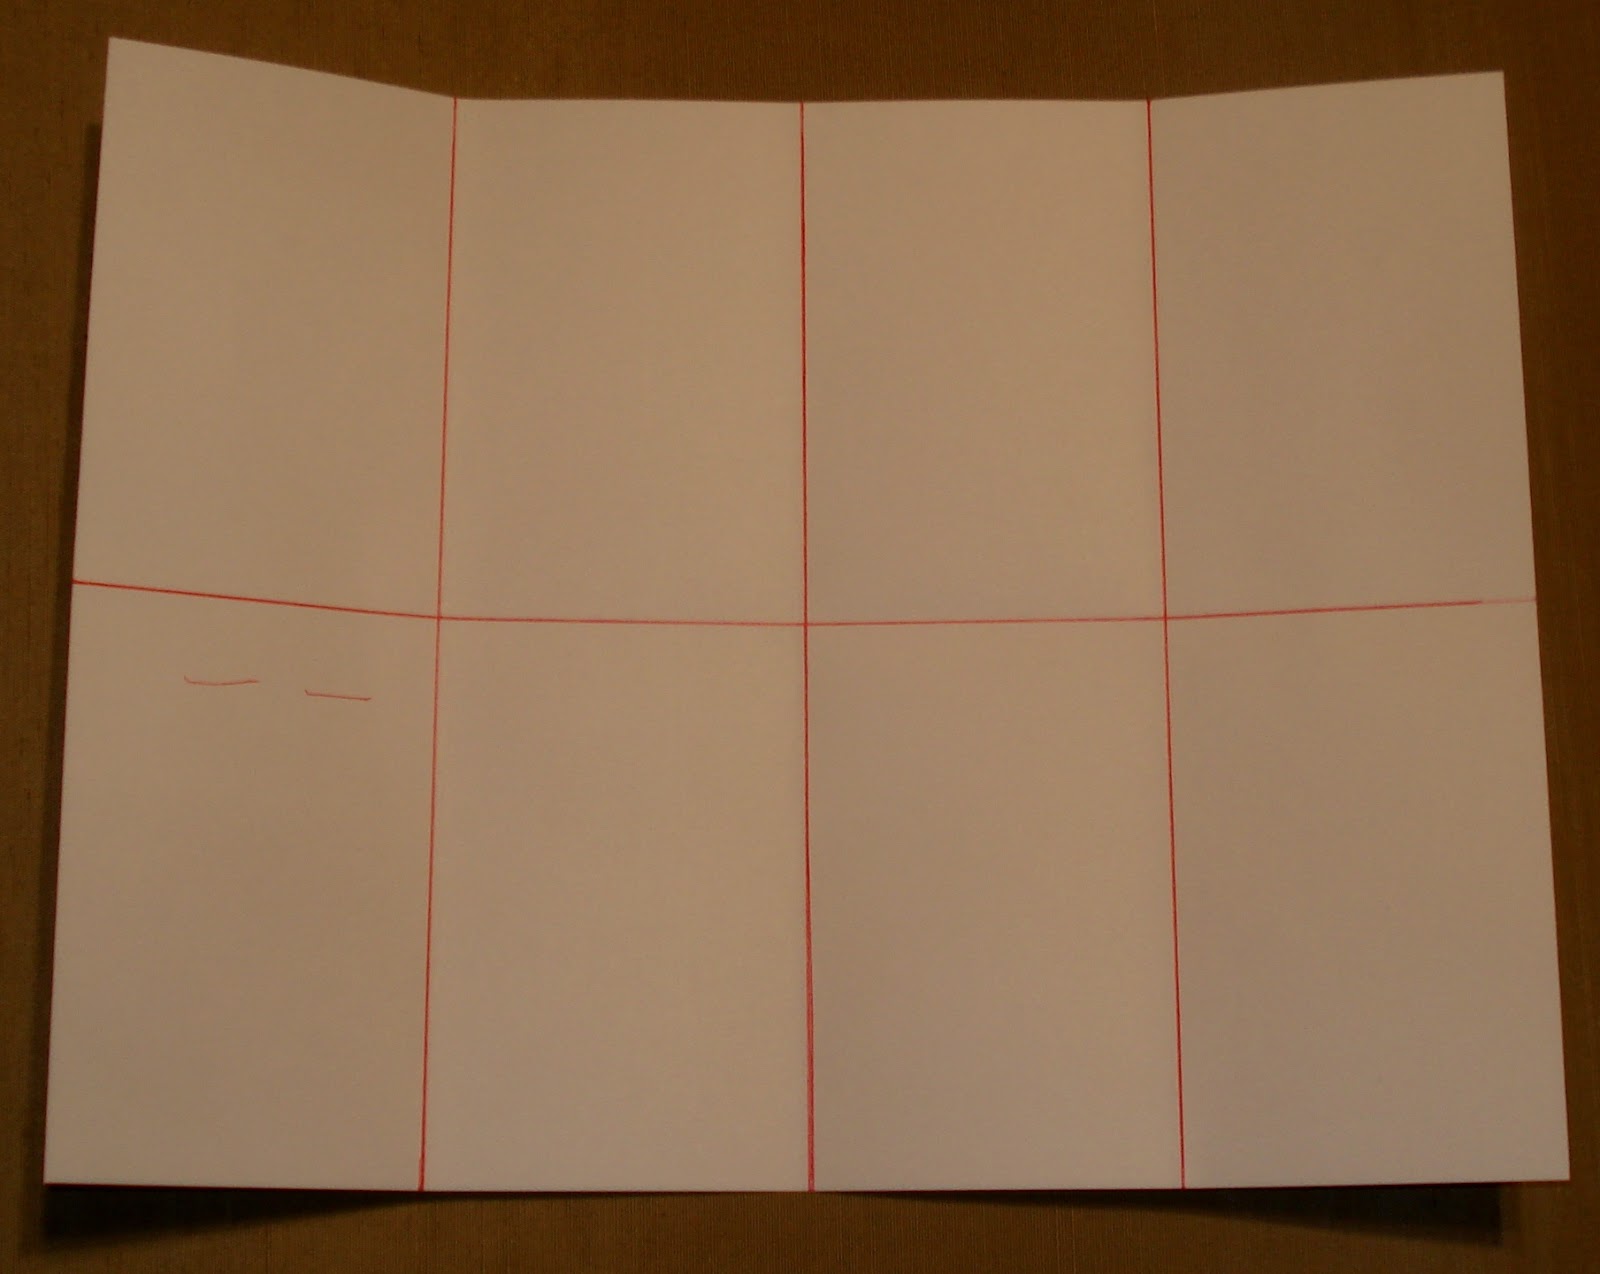
Start with an 8+1/2" x 11" piece of paper.  There are several ways to turn this into a folded booklet, one of which is to use a computer program like Print Shop to import pictures or text (or both) onto the page, and then print it out.  Another method is to fold or measure and mark the paper into eight (8) equal sections, and then collage or draw/paint designs or text onto the individual pages.

(NOTE:  If you are going to duplicate these, I recommend NOT folding the paper.  Instead, make light pencil lines for page-edge guides which can be erased before you take your finished Zine to a commercial printer.  I never try to make my own copies at home because the edges of my artwork will get cut off by the 1/4" margin allowance.)

PAPER:  For a one-time Zine construction, choose paper which has some substance but not cardstock, which is difficult to fold neatly. At the printers' shop I request an 11" x 17" smooth medium-weight (100#) paper when I take my original Zine to be duplicated, so that the design WON'T be cut off at the edge.  

Here is the folding method:
:
First, fold paper in half the long-way
Open back up

Then fold in half the short-way
Open back up


Now fold toward the center from each end
Open back up


Eight equal sections, or pages (lines
drawn only so you can see them
more clearly)


 Fold the paper in half the short way, and notice the dotted line I've drawn in from the center-of-page fold to the fold above it.  You will only cut on that partial seam from the fold toward, but NOT to, the edge.

On folded, cut along seam only where
I've shown the dotted line


Smoosh-"Barfle"- Pop-out effect


This is what it looks like opened out


Monday, December 12, 2016

Addicted To Altering Rolodex Cards...

There, I've admitted to it.


fronts and backs of two cards

Finishing is more difficult than starting... I have a line-up of covered Rolodex cards awaiting whatever collage elements may add to their designs.  At this rate, my new (used) Rolodex card holder will be filled in a year, or less!!!  Wanna' swap?

Saturday, December 10, 2016

Rolodex Cards- Older Is Better??? My Two Cents...

Several people have emailed me with observations about the quality of newer Rolodex cards, with concerns about how thin the paper is.  My older thrift shop Rolodex card holder is filled with slightly yellowing blank cards which seem substantial enough.  I replied to their observations with the following suggestions/ remedies:

WRAP:
I almost always encase each card in another layer of paper, i.e. tissue paper, painted Deli waxed paper, security envelope lining, or perhaps scrapbook paper, often wrapping the whole card before adding collage.

(NOTE:  the thicker the layers, the more difficult it is to get those little tabs at the bottom to accomodate the two guides on the card holder.)

PAINT:
A layer or two of Acrylic paint (Gelli Plate Printing, anyone?) seems to reinforce and slightly thicken a piece of paper.

DOUBLE-UP or LAMINATE:
Glue those thinner cards together in pairs before decorating.  Strength in number?  This might be the "easiest" fix.  OR, you could coat the finished project with clear packaging tape, or perhaps seal it with matte or gloss gel medium.

MAKE-YOUR-OWN:
It is really easy to make your own Rolodex cards using cardstock (which I buy by the thick pack at Wally World).  Just trace around a "real" one, carefully cutting out the two tabs/openings at the bottom, and then slightly round the card corners if you want to.

Voila!

ROLODEX ROCKS!

Friday, December 9, 2016

Relishing Recreational Rolodex-ing (?)

Be forewarned:
Altering Rolodex cards is like eating Mn'M's.  
You can't stop at just one.  
Fellow swappers, see what you have started?
Addictive art anyone?

Security envelope liner background, round sticker by
DAK and associate artist

Painted/rubber-washer-stamped deli waxed paper background


Painted/stenciled background:  ephemera from a mail art friend


Acrylic painted and collaged background


(Fronts and backs of five Rolodex cards)

Another Round of Altered Rolodex Cards


(And these are fronts and backs of four cards)

Just A Dusting Of Snow Last Night...


Poor birdies will have to shovel their way to the feeders!

Wednesday, December 7, 2016

On A Roll With Rolodex Cards

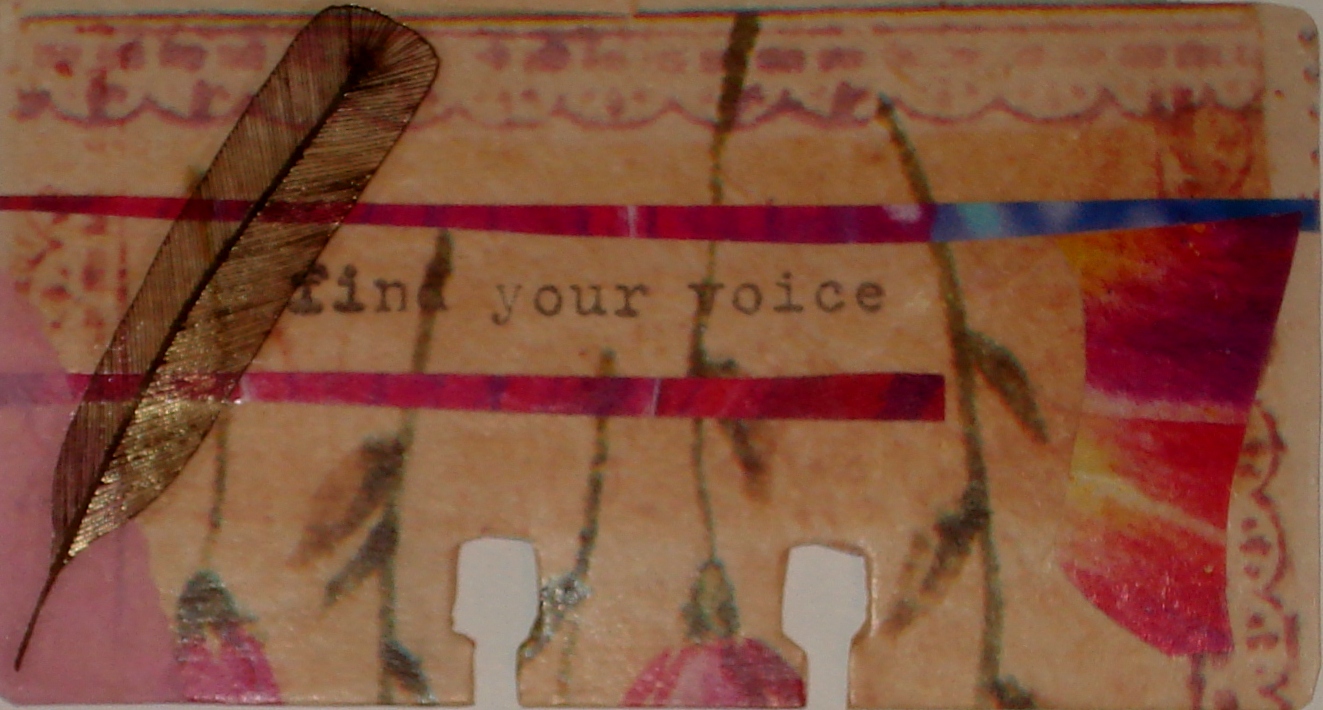
After being invited to participate in several one-on-one Altered Rolodex Card swaps, I began to see some possibilities for collage and rubber stamping, and the fun began:


Add caption
(These are seven completed Altered Rolodex cards, fronts and backs.)

And it's partly because I found an almost-new mini-Rolodex holder
filled with unused cards, for $1.00 at a local thrift shop!